Meeting Tips

Radzivon Alkhovik
May 13, 2025
The host role in Zoom is a key position that provides complete control over the meeting and all its aspects. Whether you're conducting a business meeting, educational session, or family video conference, effective hosting skills will help make your event as productive as possible.
Zoom has become one of the most popular video conferencing tools thanks to its functionality and accessibility. As a host, you get advanced meeting management capabilities: participant control, recording options, breakout rooms creation, and much more.
In this guide, we'll explore in detail all stages of organizing and conducting a Zoom meeting from the host's perspective - from creating an account to managing participants and using advanced features.
Creating a Zoom Account and Installing the Necessary Software
Before you can become a host, you need to create an account and install the Zoom application. The registration process is quite simple and takes just a few minutes.
Account Registration
To create a Zoom account, follow these steps:
Visit zoom.us
Click the "Sign Up Free" button

Enter your email

Or sign in via Google/Facebook

Confirm registration through the link in the email

Fill in your information and create a password

After completing registration, you'll gain access to basic features. Zoom offers several account types: free (with a 40-minute limit for group meetings), Pro, Business, and Enterprise. The free account is often sufficient for basic needs, but if you're planning regular lengthy meetings, it's worth considering paid options.
Installing the Zoom Application
For full functionality as a host, it's recommended to install the desktop application, which provides all the platform's features:
On zoom.us, go to "Resources" → "Download Zoom Client"

Select "Zoom Client for Meetings" for your operating system
Download and install the program, following the on-screen instructions

If you plan to use Zoom on mobile devices, download the appropriate application from the App Store (iOS) or Google Play (Android). The mobile version supports most host functions, although some advanced settings are only available in the desktop version.
Host Profile Setup
After creating an account and installing the application, it's advisable to spend time setting up your profile. Log in to your account on zoom.us, go to the "Profile" section, upload a photo, and enter your full name.
A professional photo and correctly specified name aren't just formalities - they increase participant trust and make identification easier during meetings with many attendees. It's also worth filling in your time zone information so that meeting invitations correctly display the time for all participants.
Creating a Zoom Meeting
There are several ways to create a Zoom meeting, each with its advantages depending on the situation and device you're using.
Through the Web Interface
Creating a meeting through a browser is convenient when you're working from someone else's computer or don't want to install the application. Here's a step-by-step guide:
Log in to your account on zoom.us
Click the "Schedule a Meeting" button
Fill in the required fields: meeting topic, description (optional), date and time, duration, time zone, recurring meeting (if needed)

Configure additional parameters
Click "Save"
After creating the meeting, you'll get access to its details, including a link to invite participants.
Through the Desktop Application
The desktop application provides quick access to all functions and is convenient for regular Zoom use:
Launch the Zoom application
Log in to your account
Click the "Schedule" button
Fill out the form with meeting parameters

Click "Schedule" to create the meeting
The desktop application interface may differ slightly from the web version, but all the main parameters are present in both options.
Through the Mobile Application
The mobile application allows you to schedule meetings on the go when you don't have access to a computer:
Open the Zoom application
Go to the "Meetings" tab
Tap the "+" icon or "Schedule"
Enter the meeting parameters
Tap "Done" or "Save"
Mobile scheduling is especially convenient for quickly creating meetings with basic settings, though for configuring advanced security parameters and integrations, it's better to use the desktop application or web interface.
Meeting Parameter Settings
When creating a meeting, you'll encounter numerous parameters that affect the security and convenience of the event.
It's important to correctly choose a meeting ID - for one-time events, it's recommended to use an automatically generated ID, while for regular meetings you can use your personal identifier. Be sure to set a password to protect against unwanted guests.
Define video settings for the host and participants (enabled or disabled by default), and choose the type of audio connection (phone, computer, or both options).
Pay special attention to additional parameters such as the "Waiting Room," which allows you to control participant access, and "Automatic Recording" if you need to save the meeting content for later viewing or transcription.
Inviting Participants to a Meeting
After creating a meeting, you need to invite participants. Zoom offers several ways to send invitations, which you can choose depending on your preferences and situation.
Copying and Sending the Link
The simplest and most universal way to invite participants is to copy the meeting link and send it through a convenient communication channel.
In the "Meetings" section, find the created meeting, click "Copy Invitation" and paste the resulting text into an email or messenger message. The copied invitation contains all the necessary information: the meeting link, ID, password, and instructions for connecting by phone.
This method is especially convenient when you need to invite people through different communication channels or add a personal message to the standard invitation text.
Inviting via Email
Zoom offers a direct invitation sending function via email. In the meeting details, click "Invite," select "Email" and enter the participant addresses, separating them with commas or semicolons.
This method saves time when inviting many participants but doesn't allow customizing the invitation text. Also, note that some corporate filters may block automatic emails from Zoom.
Sharing via Calendar
Integration with calendar services is one of the most effective ways to organize a meeting, especially in a work environment. When creating a meeting, select the "Add to Calendar" option (Google Calendar, Outlook, etc.), add participants to the calendar event, and send invitations.
The advantage of this method is automatic synchronization with participants' calendars and setting up reminders. Participants receive meeting notifications and can confirm their attendance, which helps estimate the expected number of attendees.
Comparison Table of Host, Co-host, and Participant Rights
Understanding the differences in access rights between different roles will help you manage the meeting more effectively. Below is a comparative table of the main capabilities:
Feature | Host | Co-host | Participant |
Start/end meeting | ✓ | ✗ | ✗ |
Assign co-host | ✓ | ✗ | ✗ |
Manage waiting room | ✓ | ✓ | ✗ |
Mute/unmute all | ✓ | ✓ | ✗ |
Mute/unmute yourself | ✓ | ✓ | ✓ |
Remove participants | ✓ | ✓ | ✗ |
Lock meeting | ✓ | ✓ | ✗ |
Create breakout rooms | ✓ | ✗ | ✗ |
Share screen | ✓ | ✓ | By permission |
Record meeting locally | ✓ | ✓ | By permission |
Record meeting to the cloud | ✓ | ✗ | ✗ |
Create polls | ✓ | ✓ | ✗ |
Transfer host rights | ✓ | ✗ | ✗ |
Change participant names | ✓ | ✓ | Only their own |
Change chat settings | ✓ | ✓ | ✗ |
This table clearly demonstrates why the host role is so important - only the host has full control over all aspects of the meeting. Appointing co-hosts can significantly ease the management of large events by distributing responsibilities among several responsible individuals.
Launching and Starting a Meeting
When it's time to conduct the meeting, the host must initiate its launch. The success of the entire event often depends on how smoothly the beginning goes.
Starting a Scheduled Meeting
There are several ways to start a scheduled meeting. Choose the most convenient for your situation:
Log in to your Zoom account (via website or application)
Go to the "Meetings" section
Find the desired meeting and click "Start"
Check audio and video settings in the popup window
Click "Join with Computer Audio"
The host should start the meeting first - participants can either wait in the "waiting room" or receive a message that the organizer hasn't started the meeting yet (depending on the settings).
Launching an Instant Meeting
Sometimes there's a need to quickly start an unplanned meeting. In this case, the "New Meeting" function becomes indispensable.
Open the Zoom application and click "New Meeting." In the popup window, you can select video settings and then proceed to the meeting. After starting, you can invite participants by clicking the "Participants" button and then "Invite" in the opened panel.
Instant meetings are convenient for spontaneous discussions, but for regular or official events, it's better to use scheduled meetings with pre-configured security parameters.
Preparation Before Starting
Professional organizers know that the key to a successful meeting is good preparation. It's recommended to join the meeting 5-10 minutes before the official start to perform final checks.
Make sure your microphone and camera are working correctly using the built-in testing functions. Check lighting and background - participants will pay attention to your visual appearance. Prepare materials for screen sharing, closing any personal or confidential documents that shouldn't be visible.
Using this time also allows you to meet the first participants, solve possible technical problems, and create a comfortable atmosphere before the official start.
Basic Host Functions During a Zoom Meeting
As a Zoom meeting host, you have special rights and tools for effective event management.
Managing Participants
The "Participants" panel is your main control tool. Open it by clicking the "Participants" button at the bottom of the screen. Here you can admit people from the waiting room, manage microphones, rename participants, remove unwanted visitors, and assign co-hosts to help with management.
Screen Sharing
The screen sharing function allows you to show presentations, documents, or any other content. Click the "Share Screen" button and choose what exactly to show: the entire screen, a separate window, or a browser tab. As a host, you control who can share their screen and manage the annotation function. When showing a video, don't forget to enable the "Optimize for Video Clip" and "Share Sound" options.
Chat and Communication
Zoom chat provides an additional communication channel during the meeting. You can send messages to all participants or specific people in private mode, share links and files. As a host, you also control chat settings - you can restrict message sending or allow communication only with organizers.
Security Settings
Protecting your Zoom meetings from unwanted intrusions is an important aspect of the host's work.
Waiting Room
The waiting room allows you to control access to the meeting. When this function is activated, all participants first enter a virtual "reception area." You see the list of people waiting and decide whom to admit: you can let people in one by one or all at once if you're confident in the participant composition.
Meeting Lock
After all expected participants have connected, it's recommended to lock the meeting. Click the "Security" button and select "Lock Meeting." After this, no one new can join, even with the correct link and password, providing additional protection for confidential discussions.
Managing Participant Rights
The "Security" menu gives you control over participant actions. You can enable or disable chat, allow or prohibit renaming, control microphones, manage screen sharing and annotations. These settings help prevent unwanted behavior and maintain order during the meeting.
Host's Checklist for Meeting Preparation
Using a structured checklist will help ensure you don't miss important details when preparing and conducting a meeting. Below is a comprehensive list of tasks for the host at different stages of organization.
24-48 Hours Before the Meeting:
Create a meeting with correct parameters
Send invitations to all participants
Prepare and send the agenda/meeting plan
Check for Zoom updates
1-2 Hours Before the Meeting:
Check camera and microphone functionality
Ensure internet connection stability
Prepare all presentation materials
Set up your workspace (lighting, background, noise elimination)
Immediately Before the Meeting:
Close unnecessary programs and browser tabs
Disable notifications on your device
Connect to the meeting 5-10 minutes before the start
Test screen sharing
Check recording settings (if planned)
At the Beginning of the Meeting:
Welcome participants
Explain the meeting format and communication rules
Verify that all participants can see and hear well
Start recording (if necessary)
This checklist can be adapted to your specific needs and meeting type. Regular use of such a list helps develop useful habits and increase the professionalism of online events.
Advanced Features for Zoom Hosts
Experienced hosts can use Zoom's extended capabilities to increase meeting efficiency, engage participants, and create a more interactive format.
Meeting Recording
The recording function allows you to save the meeting content for future use or distribution among absent colleagues. Click the "Record" button in the control panel and select "Record on this Computer" or "Record to the Cloud" (with a paid account).
During recording, you can use the pause and stop buttons to control the process. After the meeting ends, Zoom automatically converts the recording to MP4 format, which can be viewed and edited.
Be sure to inform participants that the meeting is being recorded and obtain their consent - this is a requirement of privacy laws in many countries.
Conducting Polls
Polls are an excellent tool for getting feedback and engaging participants. Before the meeting, create polls in the meeting settings on the Zoom website. During the event, click "Polls" on the control panel, select the prepared poll, and launch it.
Participants will see questions in their Zoom windows and can respond. After completing the poll, you can share the results with all participants.
Regular use of polls helps maintain audience attention and obtain valuable information about participant opinions in real-time.
Virtual Whiteboard and Other Tools
Whiteboard in Zoom allows you to visualize ideas and conduct brainstorming sessions. Click "Share Screen," select "Whiteboard" among the content options, and use drawing and text tools to create content.
You can allow or prohibit collaborative editing of the board by participants depending on the meeting goals. For educational sessions or collaborative project work, a shared board becomes a powerful collaboration tool.
It's also worth exploring the possibilities of virtual backgrounds and filters, which can be useful both for a professional appearance and for creative events or themed meetings.
Mymeet.ai: A Tool to Enhance the Host Experience in Zoom

For even more effective meetings, hosts can use additional tools like mymeet.ai, which expand the capabilities of standard Zoom functionality.

Mymeet.ai Integration with Zoom
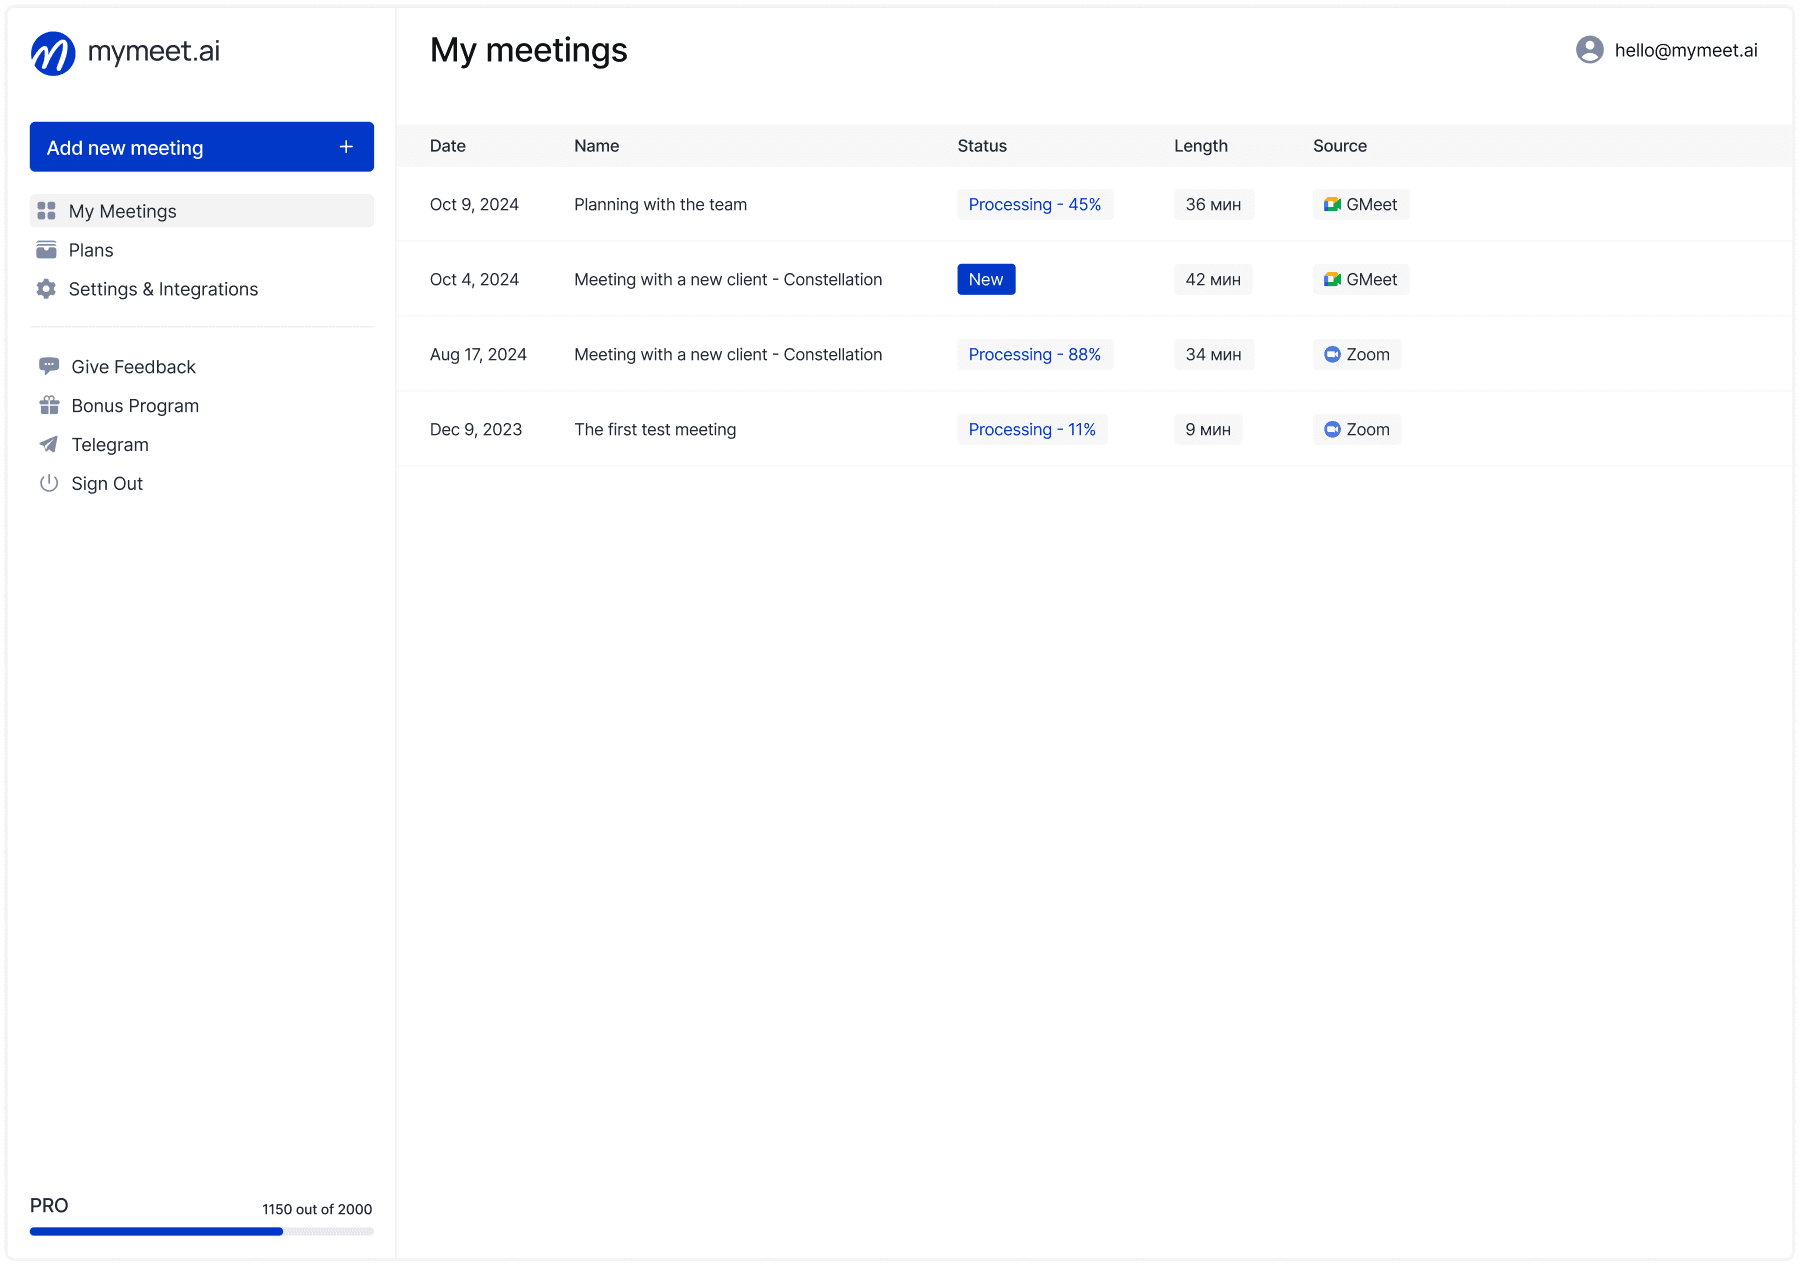
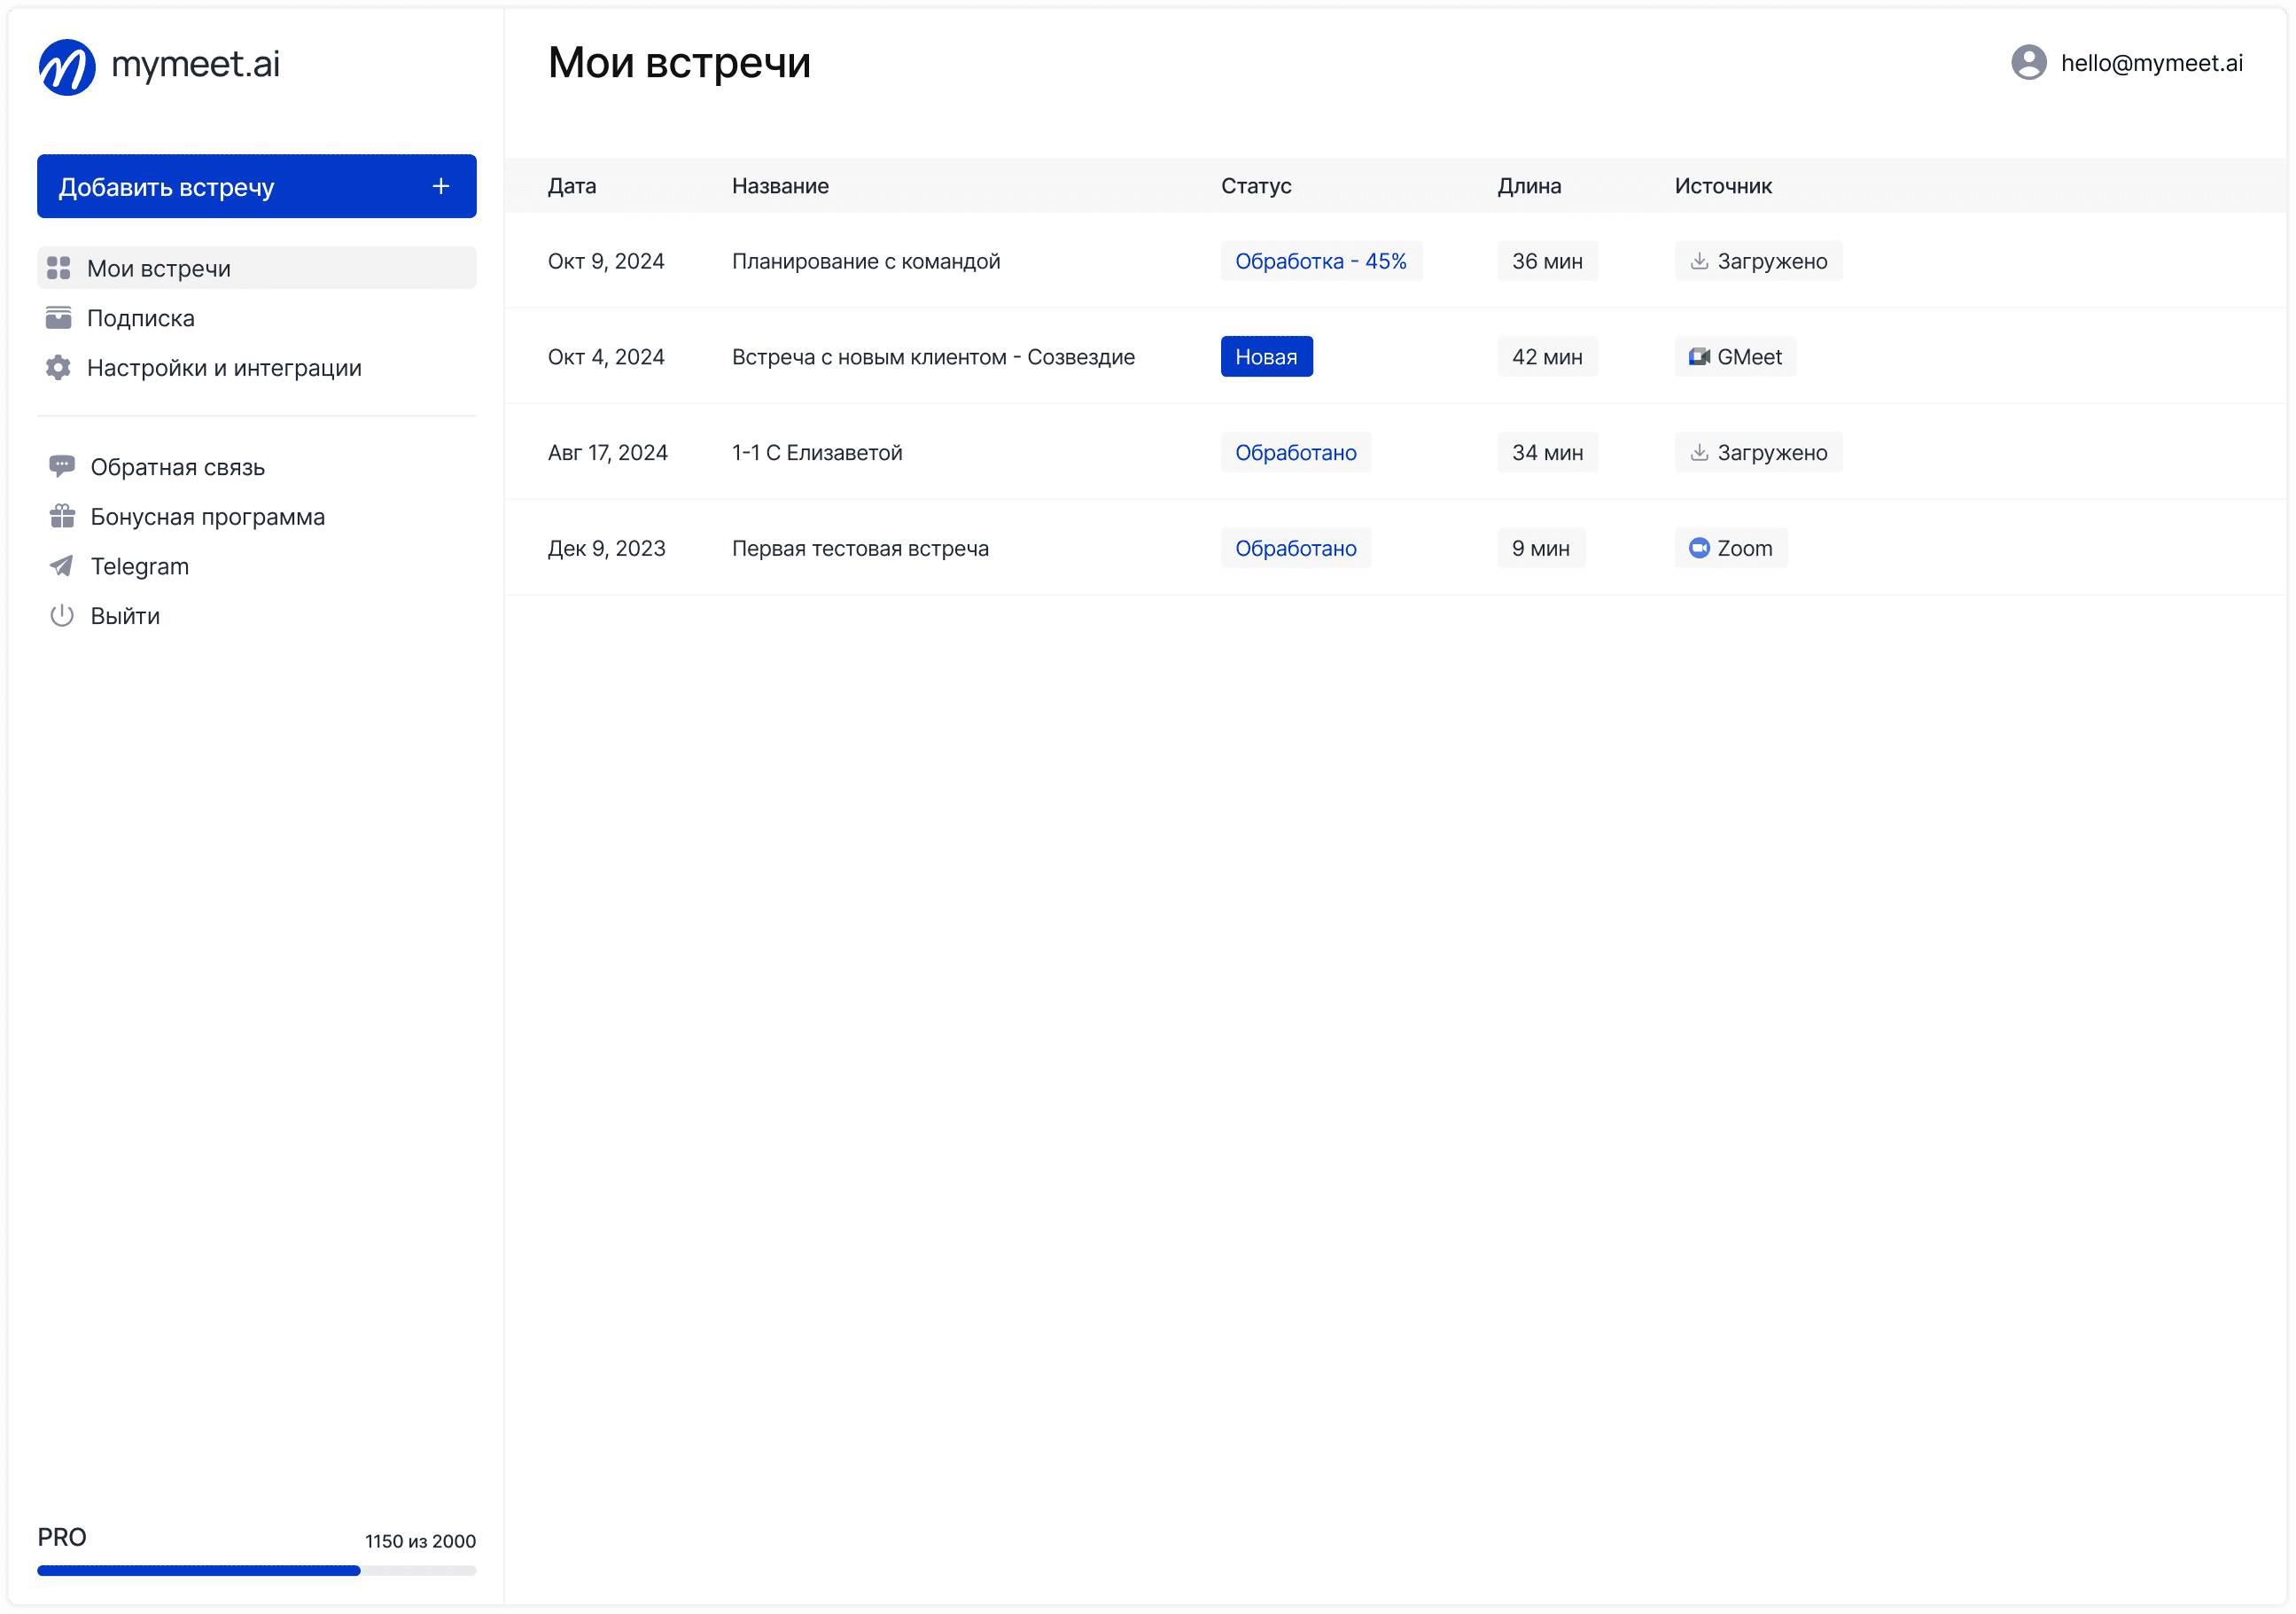
The mymeet.ai platform offers simple integration with Zoom, supplementing standard functions with enhanced capabilities for meeting analysis and documentation.

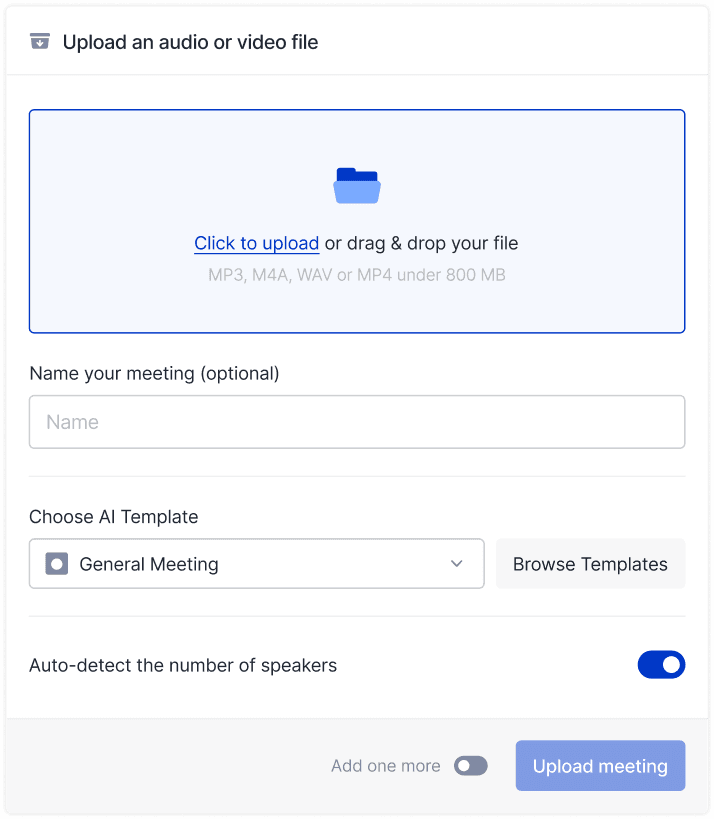
To connect the service, register on the mymeet.ai website, go to the settings section, and select Zoom integration. Follow the instructions for authorization and linking accounts. After setting up the integration, mymeet.ai will automatically process your Zoom meetings, providing valuable additional functions.
This process takes just a few minutes but significantly expands the host's ability to work with meeting content.
Analytics and Insights

One of the main advantages of mymeet.ai is the ability to get detailed analytics on conducted meetings. The service provides information on participant engagement levels, speaking time distribution among participants, highlights key discussion topics, and even analyzes the tone of the discussion.
This information helps hosts identify patterns, evaluate the effectiveness of different meeting formats, and better understand team dynamics. Based on this data, you can optimize meeting structure, allocate more time to the most productive formats, and adapt your moderation style.
For leaders and facilitators, such analytics become a powerful tool for improving communication processes.
Automated Note-Taking

Perhaps the most valuable advantage of mymeet.ai for hosts is the automation of meeting content recording. The service creates detailed transcription with speaker identification, forms a structured summary of key points, automatically highlights tasks, decisions made, and their implementation deadlines.
After the meeting, you get access to an interactive report where you can ask questions to the built-in AI assistant about the discussion content. For example, you can request "What decisions were made about project X?" or "What did Ivan say about implementation timelines?" and the assistant will find the relevant meeting fragments.
This functionality is especially valuable for long strategic sessions, complex technical discussions, and meetings where important decisions are made that require accurate documentation.
Flowchart for Solving Typical Meeting Problems
Even experienced hosts encounter technical problems. Below is a flowchart for quick diagnosis and resolution of typical difficulties:
This flowchart will help you quickly locate the source of the problem and find a solution, minimizing downtime and inconvenience for participants.
Best Practices for Conducting Zoom Meetings for Hosts
In addition to technical aspects, effective meeting conduct requires organizational skills and understanding of group dynamics. The following recommendations will help make your Zoom meetings more productive.
Meeting Preparation
Thorough preparation is the key to a successful meeting. Create a clear agenda with timing for each item and send it to participants in advance. Prepare all necessary presentations and materials, test their display through the screen sharing function.
Think about questions that will help stimulate discussion and engage passive participants. Determine in advance what decisions should be made by the end of the meeting to properly guide the discussion.
Don't forget to check technical equipment - internet connection stability, camera and microphone functionality, lighting, and background. A prepared host creates a professional atmosphere from the first minutes of the meeting.
Structuring the Discussion
A clear structure helps maintain discussion focus and save time. Start the meeting with a greeting and attendance check, then clearly outline the goals and expected results. This helps set participants in a productive mood and create a common understanding of tasks.
Follow the pre-prepared agenda, but be ready for flexibility - sometimes important topics require more time than planned. After each item, make a brief summary of decisions made and agreements. At the end of the meeting, be sure to summarize, record key decisions, and outline next steps.
Such a structured approach significantly increases productivity and participant satisfaction with discussion results.
Time Management
Time management is especially important in online format, where participant attention dissipates faster. Always start and end meetings on time - this demonstrates respect for participants' time and creates a culture of punctuality.
Allocate more time to the most important issues, and leave routine updates for written reports. Use a timer to control discussion duration - you can even display it to participants so everyone sees the remaining time.
For long meetings (more than an hour), be sure to take short breaks - 5-10 minutes every 45-50 minutes of work. This helps maintain concentration and productivity. If a discussion on some issue drags on, suggest moving it to a separate format or creating a working group for detailed elaboration.
Solving Typical Host Problems
Even with careful preparation, unforeseen situations may arise. An experienced host should be able to quickly identify and solve problems, minimizing their impact on the meeting.
Participant Connection Problems
If participants report difficulties joining the meeting, check several key points. Make sure you sent the correct link and password, especially if you used the invitation copying function - sometimes part of the text may not copy correctly.
Check waiting room settings - participants may have already joined but are waiting for admission. Make sure the meeting isn't locked by you or automatically after starting. Also consider the participant limit, which for a free account is 100 people.
If the problem persists, ask the participant to use an alternative entry method - for example, via telephone connection or web browser instead of the application.
Audio and Video Problems
The most common technical problems are related to sound and image. If someone cannot hear others or cannot be heard, ask them to check microphone and speaker settings. Recommend using the "Test Audio" button in Zoom settings for sound diagnostics.
If a participant cannot see or be seen by others, the cause may be a disabled camera, lack of browser permissions, or incorrect device selection. For poor video quality due to weak internet connection, it may be recommended to turn off the camera and use only audio to save bandwidth.
In some cases, reconnecting to the meeting or restarting the Zoom application helps. For solving persistent problems, recommend participants update their application to the latest version.
Screen Sharing Difficulties
If there are problems with showing presentations or other materials, first check the screen sharing settings. Make sure participants who need to show their screen have the appropriate permissions - the host can manage these through the "Security" menu.
When using multiple monitors, check that the correct screen is selected for display. If the presentation contains video or audio, it's important to enable the "Optimize for Video Clip" and "Share Computer Sound" options in the sharing settings.
For collaborative work on documents, it's sometimes more convenient to use cloud services and share a browser tab rather than the entire application - this usually requires fewer resources and works more stably with a weak internet connection.
Conclusion and Useful Resources
The host role in Zoom requires both technical knowledge and organizational skills. By mastering the basic functions and following the recommendations in this guide, you'll be able to conduct effective meetings that achieve their goals and respect participants' time.
For further skill improvement, we recommend regularly visiting the Zoom Learning Center (support.zoom.us), where materials about new features and best practices are published. It's also useful to watch tutorial videos on the official Zoom YouTube channel and keep track of platform updates.
Don't forget to regularly collect feedback from your meeting participants - this will help identify areas for improvement and adapt the format to the specific needs of your team or audience.
Effective hosting is a skill that improves with practice. Experiment with various Zoom features and additional tools like mymeet.ai to find the optimal format for your specific tasks.
FAQ: Frequently Asked Questions
How do I create a free meeting in Zoom?
Register for a free account at zoom.us, log in, and click "Schedule a Meeting." Fill in the required fields and save. Free meetings with three or more participants are limited to 40 minutes, but you can start a new meeting immediately after the previous one ends.
How do I invite participants to a Zoom meeting?
After creating the meeting, click "Copy Invitation" and send the information to participants via email or messenger. Alternatively, you can use calendar integration and invite participants through a calendar event, which provides automatic reminders.
Can I make someone else the host during a meeting?
Yes, in the participants panel, hover over the person's name, click "More," and select "Make Host." After transferring rights, you become a regular participant, although you can ask to have host rights returned.
How many participants can be in a free Zoom meeting?
A free Zoom account allows meetings with up to 100 people. However, there is a time limit - group meetings (with three or more participants) can last no more than 40 minutes. Longer meetings require a paid subscription.
How do I lock a meeting from unwanted visitors?
Use a combination of several measures: set a meeting password, enable the waiting room to control who joins, and after all expected participants have connected, lock the meeting through the "Security" menu. This prevents new participants from joining.
How do I share my screen in Zoom?
Click the "Share Screen" button in the control panel, then select what to show: the entire screen, a specific application, or browser tab. For showing video with audio, enable "Optimize for Video Clip" and "Share Computer Sound" in the additional settings.
What should I do if participants cannot hear the host?
Check that your microphone isn't muted (icon should not be crossed out). Click the arrow next to the microphone icon, select "Audio Settings," and verify that the correct input device is selected. Use the "Test Microphone" function to ensure it's working properly.
How do I record a Zoom meeting?
Click the "Record" button in the control panel and choose where to save the recording - to your computer or to the cloud (requires a paid subscription). After the meeting ends, Zoom automatically converts the recording to an MP4 file. Don't forget to get participants' consent for recording.
Can a host mute all participants?
Yes, click "Manage Participants," then "Mute All" at the bottom of the participants panel. Additionally, you can enable the "Don't allow participants to unmute themselves" option so they cannot activate their microphones independently.
How can I extend the 40-minute limit in the free version?
Officially, you cannot extend the limitation, but there is a workaround: when the meeting approaches its end, all participants can leave and then rejoin using the same link. The host can also schedule a second meeting in advance and send the link to all participants before the first one ends.
Radzivon Alkhovik
May 13, 2025


