Meeting Tips

Radzivon Alkhovik
Apr 23, 2025
Everyone who has ever participated in an important online meeting knows that technical issues can significantly undermine your impression or disrupt the planned event. That's why preliminary Zoom testing before important calls has become an integral part of professional preparation.
Whether you're conducting an interview, presenting to clients, or teaching a course — system testing helps avoid awkward situations with a non-working microphone, unclear image, or connectivity problems. Regular checking of Zoom settings ensures your online meetings will run smoothly and professionally.
In this guide, we'll look in detail at all aspects of Zoom testing, from standard tests to advanced settings that will help you always stay connected with impeccable quality.
Official Zoom Testing Tools
Zoom developers have provided convenient built-in options for checking your system before connecting to real meetings. These tools allow you to test all key elements necessary for successful participation in video conferences.
Zoom Test Meeting
The easiest way to check all settings at once is to join a Zoom test meeting. To do this:
Go to the official link: zoom.us/test

Click the "Join" button

If the Zoom application launches — follow the on-screen instructions
If the application is not installed — you'll be prompted to download and install it
During the test meeting, you can check your camera, microphone, and speakers, as well as familiarize yourself with the program's basic interface. This is especially useful for beginners who are just starting to use the platform.
System Check on the Zoom Website
In addition to the test meeting, the Zoom website has a special section for checking technical requirements:
Open the page zoom.us/test
Scroll down to the "System Check" block
Click the "Check" button
The system will automatically analyze your device's compliance with Zoom's minimum requirements, internet connection speed, and other parameters affecting video quality.
How to Test Your Camera in Zoom
Quality video image is a key element of a professional online meeting. Checking your camera before an important call will help ensure that your conversation partners can see you well.
Camera Check Before a Meeting
To check your camera in Zoom settings:
Launch the Zoom application
Click the gear icon (Settings) in the upper right corner
Select the "Video" section in the left menu
You'll see a preview of the image from your camera
In this mode, you can check if the camera is working properly, adjust lighting and camera position, choose another camera if multiple devices are connected to your computer. Options like "Adjust my video in poor lighting" and enabling/disabling HD are also available.
Solving Common Camera Problems
If the camera doesn't work during testing, try these solutions:
Check browser or system permissions:
In Windows: Settings → Privacy → Camera
In macOS: System Preferences → Security & Privacy → Camera
In browser: Allow access to the camera for zoom.us
Make sure the camera isn't being used by another application:
Close all programs that might be using the camera (Skype, Teams, browser)
Restart Zoom
Update camera drivers:
For built-in cameras: update drivers through Device Manager (Windows) or check for system updates (macOS)
For external cameras: visit the manufacturer's website to download the latest driver version
Testing Audio in Zoom
Clear sound is just as important as quality video. Audio problems can seriously hinder communication, so thorough testing of microphone and speakers before a meeting is essential.
Testing Microphone and Speakers
To check sound in Zoom:
In the Zoom application, go to Settings → Audio
In the "Speaker" section, click the "Test" button — you should hear a sound signal
In the "Microphone" section, start speaking — the volume indicator should respond to your voice
Click "Test microphone" — the system will record a short audio fragment and play it back
Settings to Improve Sound Quality
Zoom offers several options for improving audio quality. In sound settings, you can adjust background noise suppression, selecting a level from "Low" to "High" depending on your environment. To transmit sound without processing (useful for musicians), activate the "Original Sound" option. The "Automatically adjust volume" function helps maintain a stable volume level throughout the meeting.
Solving Echo Problems
Echo is one of the most common problems in conference calls. To avoid it, use headphones — this is the most effective way to prevent echo. If using headphones is not possible, reduce speaker volume. Also, make sure there is no strong resonance in the room (large empty spaces with hard surfaces). In Zoom settings, you can activate the "Echo Suppression" function for additional sound processing.
Checking Video and Streaming Quality
Optimal video settings will help you look professional during important meetings, as well as save internet traffic with unstable connections.
Optimizing Video Settings
In Zoom settings, go to the "Video" section and adjust the following parameters:
Aspect ratio: choose 16:9 for widescreen display or 4:3 for standard
HD: enable for better quality with good internet connection
Adjust video in poor lighting: useful with insufficient lighting
Skin smoothing: applies a light smoothing effect (optional)
Checking Bandwidth
For stable video communication, the following internet speeds are recommended:
For 1:1 video calls: 600 Kbps (upload/download)
For group video calls: 1.0 Mbps (upload/download)
For screen sharing: 50-150 Kbps
For HD video: 1.5 Mbps (upload/download)
You can check your internet speed on websites like speedtest.net or fast.com.
Settings for Saving Traffic
If you have a limited or unstable internet connection, use the following recommendations. Turn off HD video in settings and select the option "Turn off my video when joining a meeting." If necessary, use audio-only mode. It's also important to close other applications using the internet during the call to avoid additional load on the connection.
How to Join a Zoom Test Meeting
For beginners, it's especially important to practice before a real meeting. The Zoom test room is an ideal place to get familiar with the interface and basic functions.
Step-by-Step Instructions
To join a test meeting:
Open zoom.us/test in your browser
Click the "Join" button
When prompted "Open Zoom Meetings?" click "Open"
If the application is not installed, follow the instructions for installation
In the test room, check your camera and microphone operation
In the test room, you can familiarize yourself with the basic controls: mute/unmute microphone, turn on/off video, screen sharing, chat, reactions, and leaving the meeting.
Practicing Basic Functions
In the test room, you can safely test changing virtual backgrounds, screen sharing, meeting recording (locally), using chat, and switching between display modes (gallery/speaker view). Spending 10-15 minutes studying these functions will make you feel more confident during real meetings.
Testing Connection and Performance
A stable connection is key to a successful Zoom meeting. Performance checking will help avoid freezing and connection losses.
Checking Connection Quality
In the Zoom application, join a test meeting and pay attention to the connection indicator in the upper left corner. A green indicator color indicates a good connection, yellow signals medium quality with possible slight delays, and red indicates a poor connection with likely audio and video problems.
For a more accurate check, click on the connection indicator itself. In the window that opens, you'll see detailed statistics on data upload and download. Pay special attention to latency and packet loss indicators — these critically affect call quality.
Optimizing Your Computer for Better Zoom Performance
Before important meetings, it's recommended to:
Close unused applications and browser tabs
Turn off cloud service synchronization during the call
Connect to the network via Ethernet cable instead of Wi-Fi (if possible)
Restart your computer before a long important meeting
Update the Zoom application to the latest version
Solving Latency Problems
If you encounter streaming delays, temporarily turn off video, keeping only audio. Reduce video quality in settings and ask other participants to turn off video if possible. If you have problems with your home network, restart your Wi-Fi router or move closer to it. As a last resort, use a wired connection instead of wireless.
Advanced Settings and Checks
For advanced Zoom users, additional settings are available to improve meeting quality and increase security levels.
Testing Virtual Background
To check a virtual background:
In Zoom settings, go to "Background & Filters"
Select a built-in background or upload your own image
Check how the background looks with different lighting and movements
Make sure your computer supports this feature without a "green screen"
For best results, use a solid-colored real background (preferably dark) and good lighting.
Security Settings Configuration
Before conducting important meetings, check security settings. Create a unique meeting ID instead of using your personal ID and set a password for entry. Activate the "Waiting Room" to control participants and configure security options for screen sharing and chat. Be sure to test these parameters in the test room before the real meeting.
Recording Check
If you plan to record the meeting, go to the "Recording" section in settings and choose where to save (locally or in the cloud). Configure recording parameters, including separate audio files and optimization for third-party programs. Be sure to make a test recording and check video and audio quality before an important meeting.
Mymeet.ai: Enhancing Zoom Meeting Quality Beyond Standard Testing

Standard Zoom testing tools are good for basic checking, but a more advanced solution may be required for a truly professional approach to online communication. The mymeet.ai service offers additional capabilities for working with Zoom meetings that go beyond ordinary testing.

Mymeet.ai Integration with Zoom
The mymeet.ai platform easily integrates with Zoom, providing extended analytics and tools to improve meeting quality. To connect:

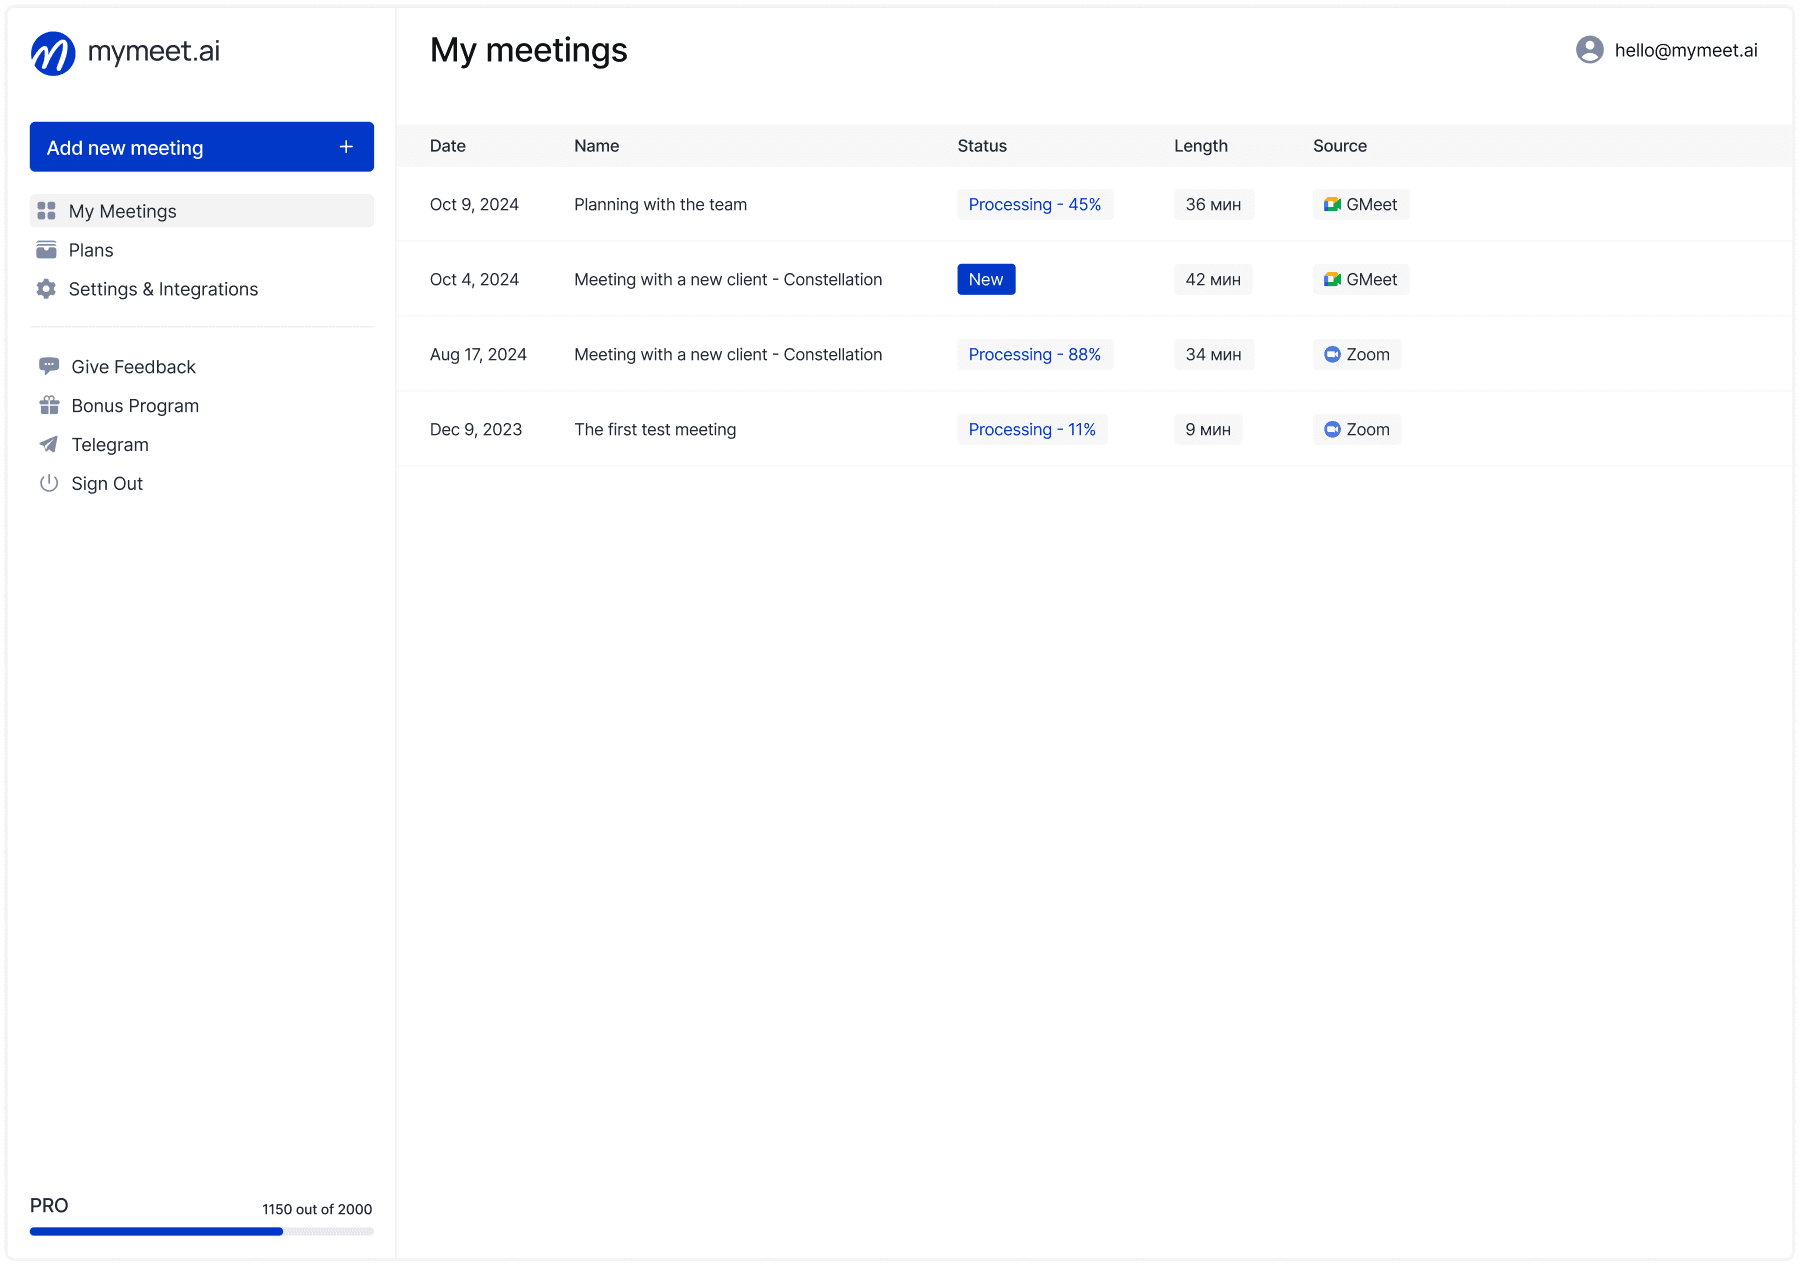
Log in to mymeet.ai and go to the "Settings and Integrations" section
Select Zoom integration and follow the instructions to connect
After setup, the service can automatically analyze your Zoom meetings

Audio and Video Quality Analysis
Unlike standard testing, mymeet.ai offers deep analysis of meeting quality. The service identifies problematic areas with low sound quality, determines moments with overloaded communication channels, evaluates speech intelligibility of all participants, and forms recommendations for improving technical parameters for future meetings.
Improving Communication with AI Assistant
Beyond technical aspects, mymeet.ai helps increase the effectiveness of communication itself. The system performs automatic meeting transcription with highlighting of key moments, analyzes participant activity for more balanced discussions, highlights tasks and commitments made during the meeting, and generates intelligent reports on meetings conducted.
Preparing for Meetings at a New Level
With mymeet.ai, preparation for Zoom meetings goes beyond technical testing. Conduct a test meeting in Zoom with connected mymeet.ai and analyze the automatically created report on connection quality. Review recommendations for improving technical parameters and make necessary adjustments before important calls.
Integration with mymeet.ai is especially useful for teams that regularly conduct important meetings with clients, interviews, or training sessions where communication quality is critically important.
Preparing for Professional Meetings
Beyond technical aspects, attention should be paid to workspace setup and your on-camera image to create a professional impression.
Optimizing Lighting
Proper lighting significantly improves video quality. Position the main light source in front of you, not behind. Avoid harsh directional light and shadows on your face. If possible, use diffused light, such as a desk lamp with a shade or a ring light. Be sure to check how lighting looks in a Zoom test meeting at different times of day.
Setting Up Your Workspace
For professional meetings, it's important to create an appropriate background. Choose a neutral, non-distracting background and remove unnecessary items from the camera's field of view. Carefully check that personal items or confidential information don't appear in the frame. Ensure a quiet environment without extraneous noises that might distract meeting participants.
Checking Your On-Camera Appearance
Before an important meeting, conduct a final check. Join a Zoom test meeting and adjust the camera so your face is centered in the frame, at eye level. Make sure your clothing looks good on camera — avoid small patterns and overly bright colors. Check for reflections in glasses or glare from jewelry that might distract conversation partners.
Troubleshooting: When Tests Show Problems
Even with careful preparation, unforeseen technical problems sometimes arise. It's important to know how to quickly resolve them.
Typical Testing Errors
"Computer doesn't recognize the camera"
Check the physical camera connection and restart your computer. Update camera drivers and check privacy settings in your system.
"No sound from microphone"
Make sure the correct microphone is selected in settings and check the microphone volume level in system settings. Check the physical connection of an external microphone and make sure it's not disabled by a physical button.
"Can't join test meeting"
Check your internet connection. Temporarily disable antivirus or firewall, reinstall the Zoom application. As a last resort, try using the web version instead of the application.
Step-by-Step Approach to Problem Solving
When technical difficulties arise, follow this simple algorithm:
Identify which component has the problem (audio, video, connection)
Go to the specific settings for this component in Zoom
Try simple solutions (restart application, select another device)
If the problem persists, check your computer's system settings
As a last resort, reinstall Zoom or use another device
When to Contact Technical Support
If independent attempts don't help, contact Zoom technical support through the official website: support.zoom.us. Prepare the following information: Zoom version, operating system, computer model, exact problem description, and screenshots with errors (if any).
Special Testing Scenarios
Different devices and conditions may require a specific approach to Zoom testing.
Testing on Different Devices
On PC and Mac
Check settings through the full Zoom client version. If possible, use a wired internet connection for maximum stability. If necessary, disable other programs that consume system resources.
On Mobile Devices
Install the Zoom application from the App Store or Google Play. Go to settings via the gear icon and check permissions for camera and microphone access in system settings. Test operation both through Wi-Fi and mobile network.
Working with External Devices
External Cameras
Connect the device to your computer and select the external camera from the dropdown list in Zoom settings. Make sure the camera drivers are updated, and adjust the position and settings of the camera for optimal image.
External Microphones and Audio Systems
Connect the device and make sure the system recognizes it. In Zoom settings, select the desired audio device and test the microphone and speakers through the corresponding options. Adjust the microphone sensitivity level for clear transmission of your voice.
Testing in Corporate Settings
In a corporate environment, additional checks may be required. Make sure the corporate firewall doesn't block Zoom. Check VPN settings if you're using one. If possible, consult with the IT department about specific security settings and test corporate Zoom account functions, including SSO and room management.
Conclusion and Checklist
Thorough testing before important Zoom meetings significantly increases your chances of successful communication. Use this checklist for quick preparation for any meeting.
Technical Part:
Check camera and video settings
Test microphone and speakers
Check internet connection speed
Update Zoom application to the latest version
Close unused applications
Check device charge (for laptops and mobile devices)
Organizational Part:
Adjust lighting and background
Prepare workspace (eliminate noise, clutter)
Check your appearance on camera
Prepare necessary materials for screen sharing
Configure meeting security parameters (password, waiting room)
Recommended Testing Frequency
Before each important meeting, conduct a brief check of the main parameters. With regular Zoom use, a weekly full test is sufficient. After updating the system or Zoom, be sure to perform a retest of all components. When changing equipment, conduct a comprehensive check with new devices.
Regular testing will help you be confident in the technical aspects of meetings and focus on their content, rather than solving suddenly arising problems.
FAQ: Answers to Common Questions About Zoom Testing
How do I start a Zoom test meeting?
Simply go to zoom.us/test and click the "Join" button. The system will offer to open the Zoom application or install it if it's not on your device. In the test room, you can check your camera, microphone, and speakers.
Why isn't the camera working during the Zoom test?
The most common reasons: the camera is being used by another application, necessary drivers aren't installed, or system settings deny camera access. Check your operating system's privacy settings, close other applications with video capabilities, and make sure the correct camera is selected in Zoom settings.
What if I can't hear sound during testing?
First check if sound is muted at the system level, then make sure the correct audio device is selected in Zoom settings. Try selecting another speaker from the dropdown list and click the "Test" button to play a test signal. Also check the physical connection of headphones or speakers.
How often should I run a Zoom test?
It's recommended to conduct full testing before important meetings, after updating the system or Zoom program, and when changing equipment. If you regularly use the same device, a weekly check of the main parameters is sufficient.
How do I test Zoom on a mobile device?
Install the Zoom application from the App Store or Google Play, then open it and go to the settings section. Check permissions for camera and microphone access in system settings. For complete testing, join a test meeting through zoom.us/test using the mobile browser.
What minimum internet speed is needed for Zoom?
For basic Zoom operation, a speed of about 600 Kbps (upload/download) is required for 1:1 video calls. For group video calls, 1.0 Mbps or higher is recommended. For quality HD video, at least 1.5 Mbps is necessary. To check your internet speed, use services like speedtest.net or fast.com.
Why is the image blurry during Zoom testing?
Blurry images can be caused by low internet speed, an outdated camera, or insufficient lighting. Check your connection quality, adjust video parameters in Zoom (including HD mode with good internet), and improve lighting in your workspace. If the problem is with the camera, make sure the lens is clean and drivers are updated to the latest version.
How do I check Zoom with an external camera or microphone?
First connect the external device to your computer. Then launch Zoom, go to settings, and select the appropriate external device from the dropdown list of available cameras or microphones. Conduct standard testing through the settings menu and make sure the device is recognized and functioning properly. If necessary, install current drivers from the manufacturer's website.
Can I test Zoom without installing the application?
Yes, Zoom offers a web version that works in the browser without needing to install the program. To test the web version, go to zoom.us/test and select the option "join via browser" instead of launching the application. However, it should be noted that the web version has some functionality limitations compared to the full application.
How do I fix echo problems when testing Zoom?
Echo usually occurs when sound from speakers goes back into the microphone. The simplest solution is to use headphones. If this is not possible, reduce speaker volume and increase the distance between speakers and microphone. In Zoom audio settings, activate the echo suppression function. It's also useful to check if multiple sound capture devices are enabled simultaneously, and disable unnecessary microphones.
Radzivon Alkhovik
Apr 23, 2025


